
Today we start building the chassis kit from Banggood that will become the robotic platform we’ll play with in the next posts…
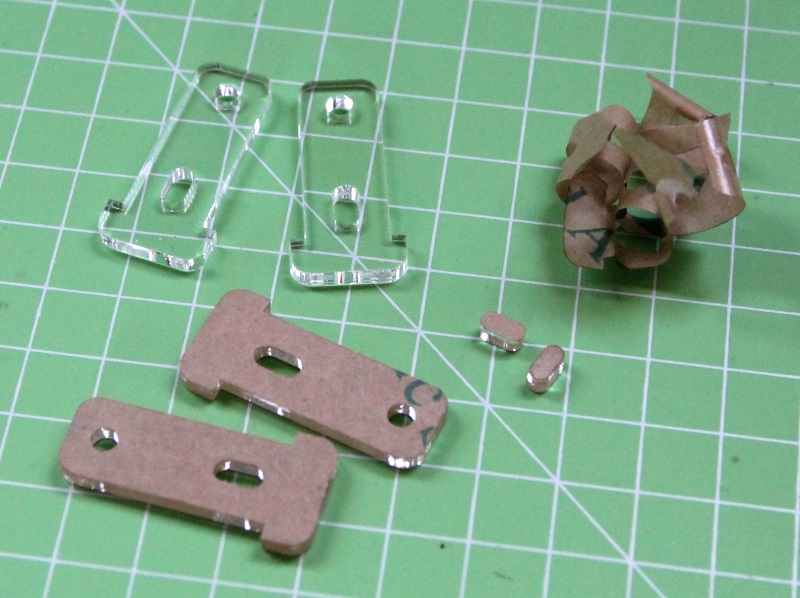
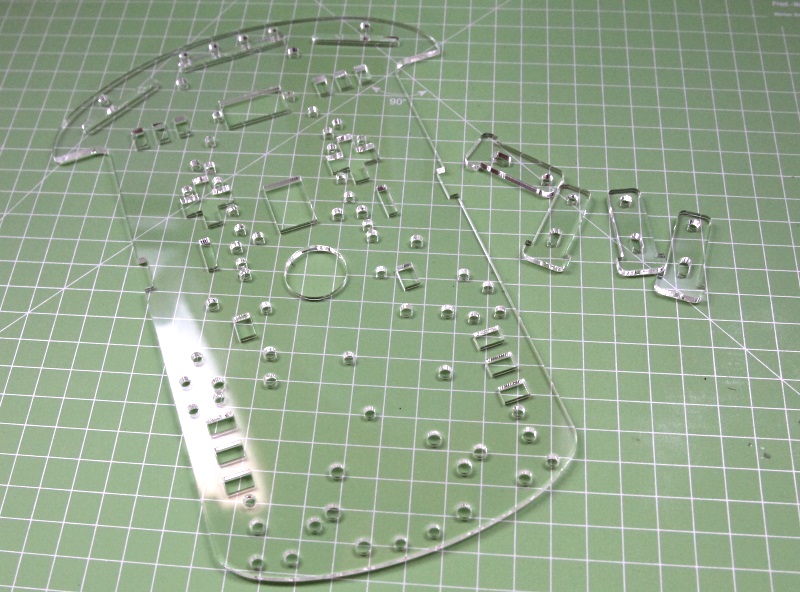
But first, remove the protective paper from all the acrylic parts:
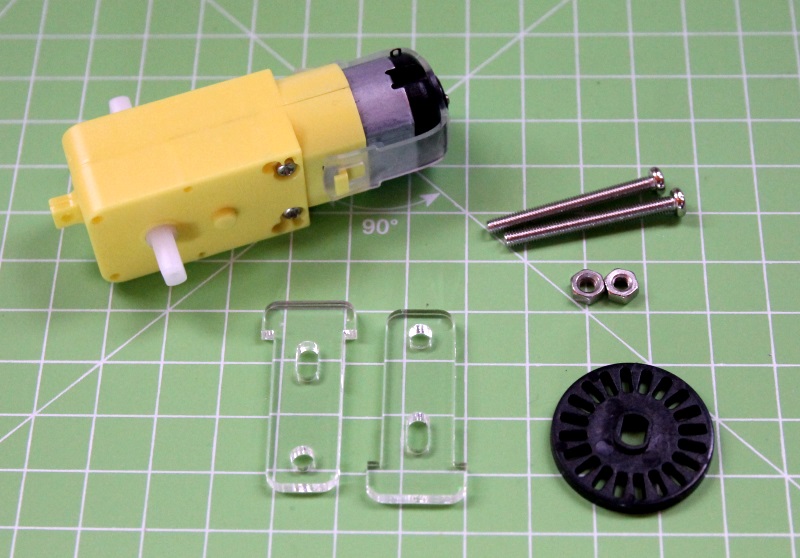
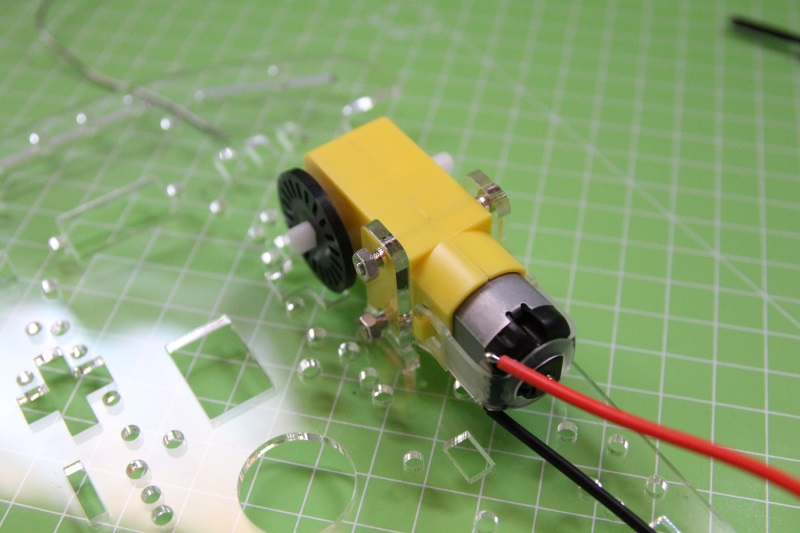
Let’s mount the motor on the chassis. You need the motor, two screws with their nuts, two mounting plates and the plastic wheel for the encoder. Insert the wheel on the motor shaft and place the two plates in the corresponding chassis holes:

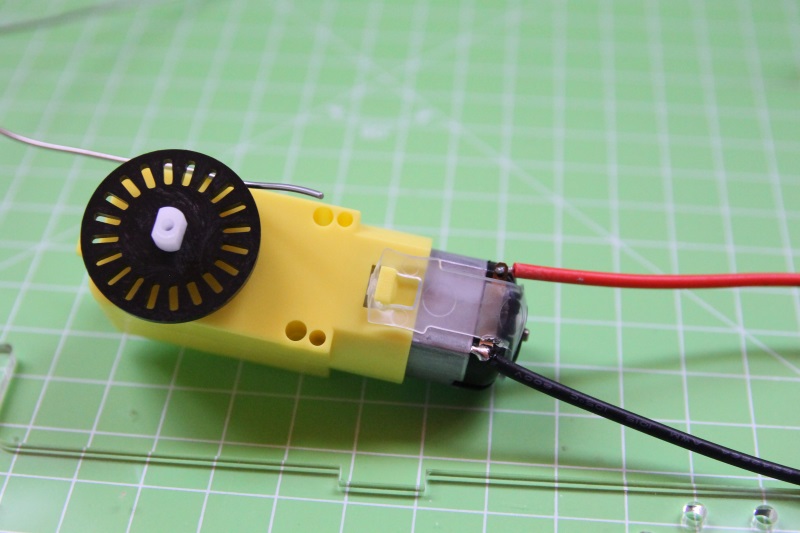
For convenience, you can solder two wires (red and black) to the motor before mounting it on the chassis. Then secure the motor to the plates using screws and nuts. Make sure that the encoder wheel is inside:
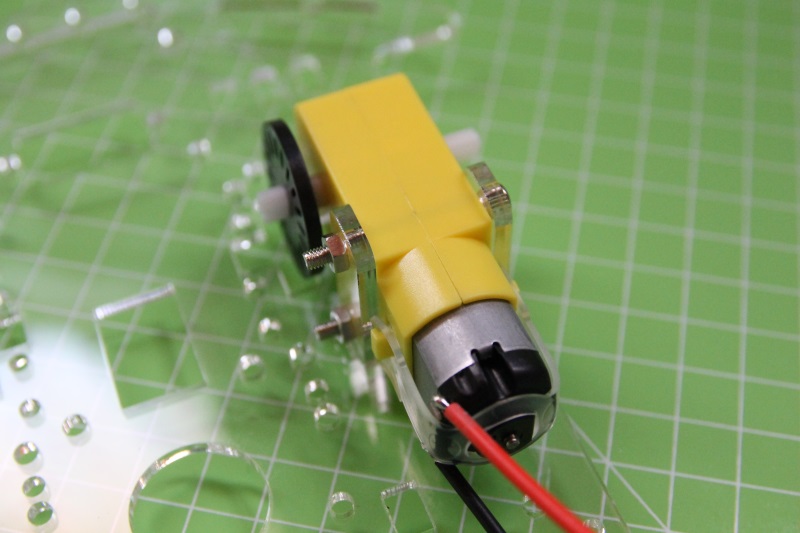
With the help of a screwdriver, tighten the two screws so that the motor is securely fastened to the base:

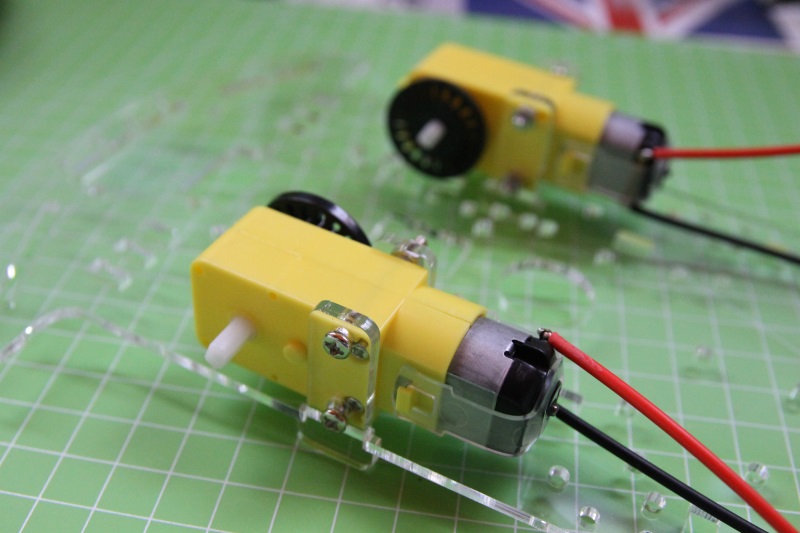
Do the same for the second motor and make sure that the wheel can freely move and does not touch the chassis:

Complete the assembly inserting the two wheels in the motor shafts:


Now the caster, that is the front wheel. You can mount it on the chassis using 4 screws and nuts and the holes already present:


After having completed the assembly, you will notice that the caster is lower than the rear wheels; the robot is tilted forward. You can fix it by adding the 4 spacers between the caster and the base::


Here’s the final result:


