
Let’s begin the building of our mini quadricopter, starting from the assembly of the frame.
Unfortunately, I immediately faced a problem: the kit included screws whose diameter was too small to tighten the spacers! Here’s a comparison between some correct screws I had in my lab and the ones included in the kit:

I contacted Bangood’s customer support who kindly sent me a bag of correct screws and assured that the next kits would have been fixed: if you buy this frame, let me know if everything is ok!
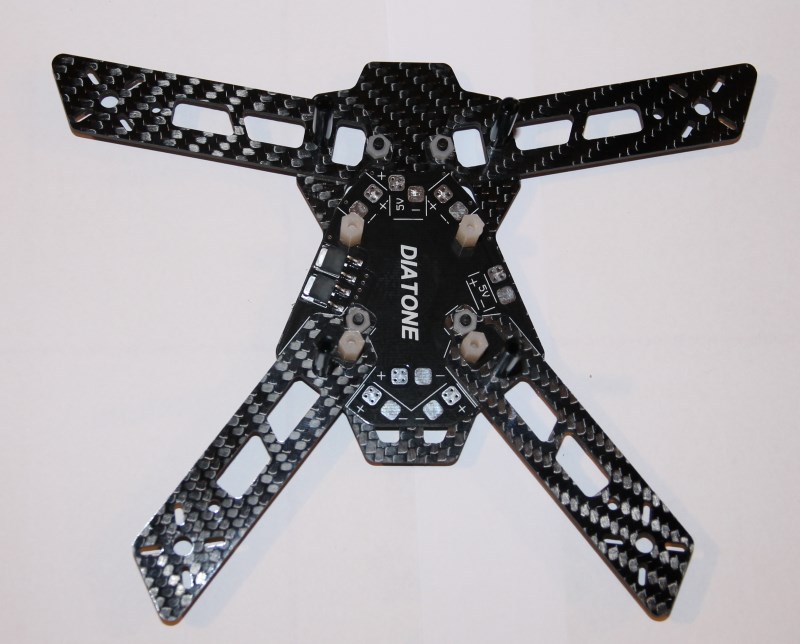
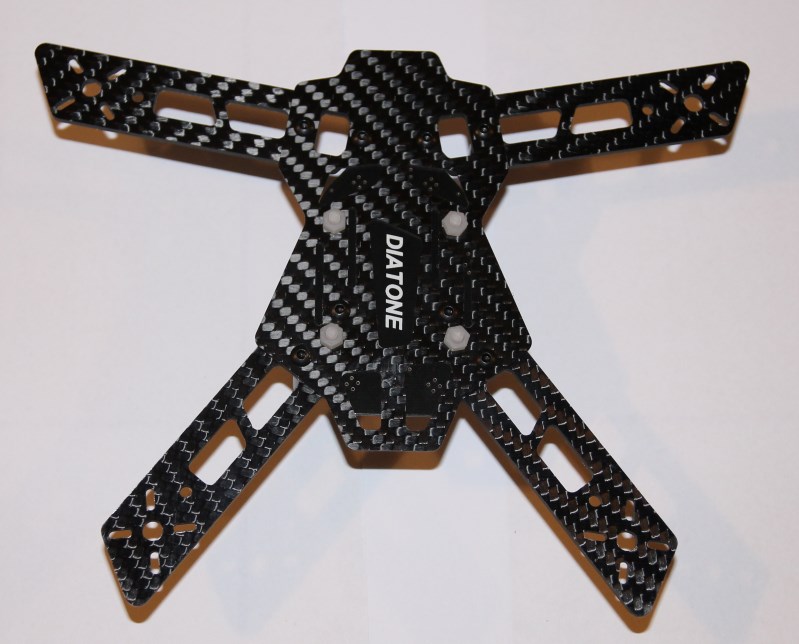
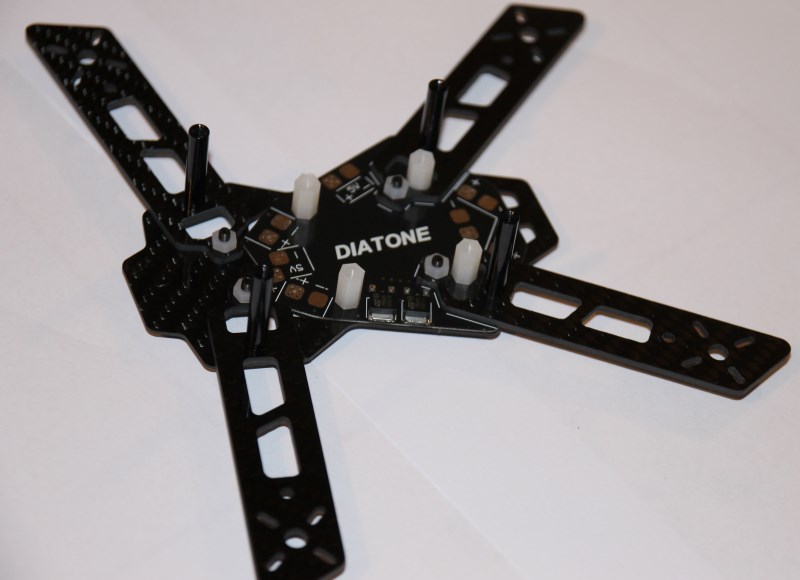
I fixed the different parts of the frame using screws and spacers; the plastic ones are also used to mount the flight control board:

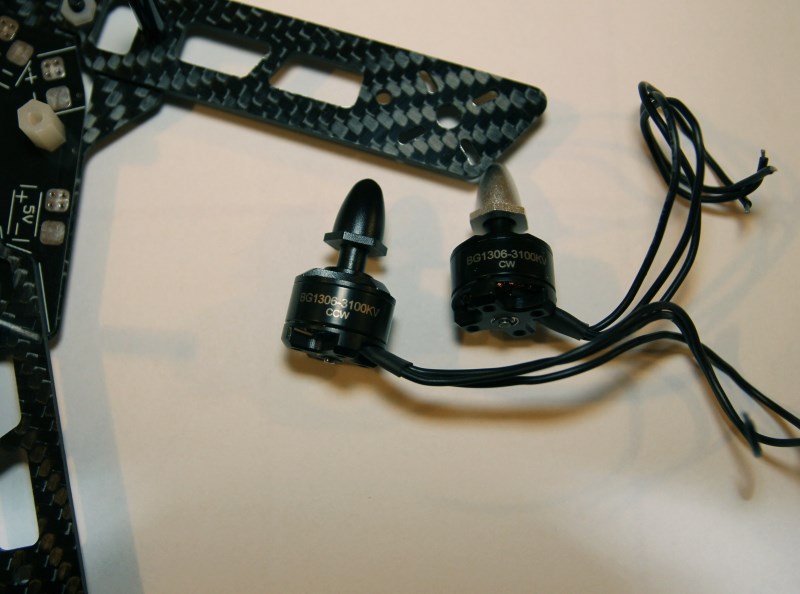
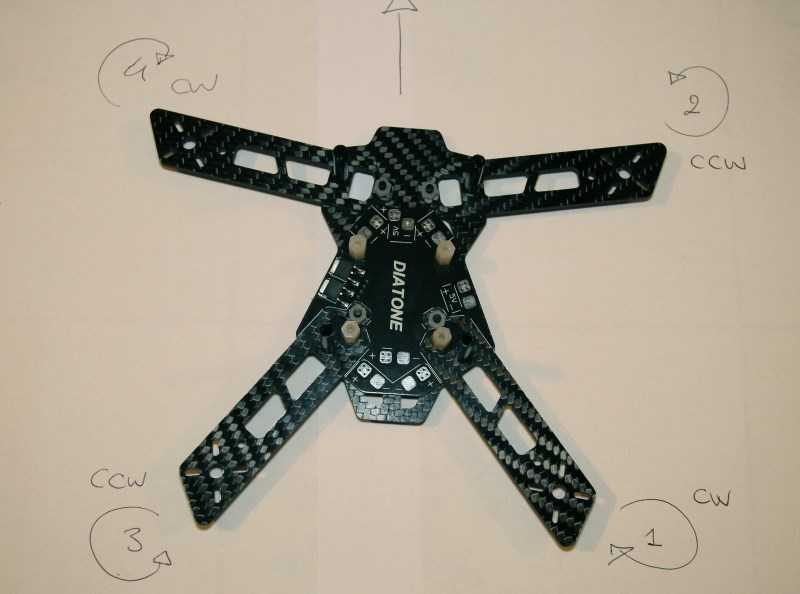
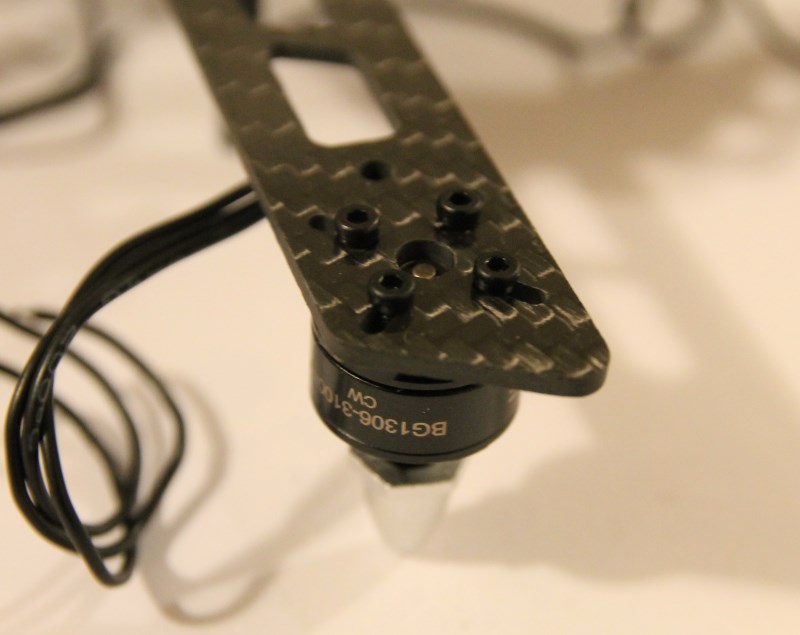
Now the motors: the first thing to note is that the motors I chose have a specific rotation direction, indicated on the label (CW = clockwise, CCW = counter-clockwise). I wrote on a sheet of paper the direction of each motor to be sure to avoid mistakes:
Then I set the motors to the arms, using the screws provided:
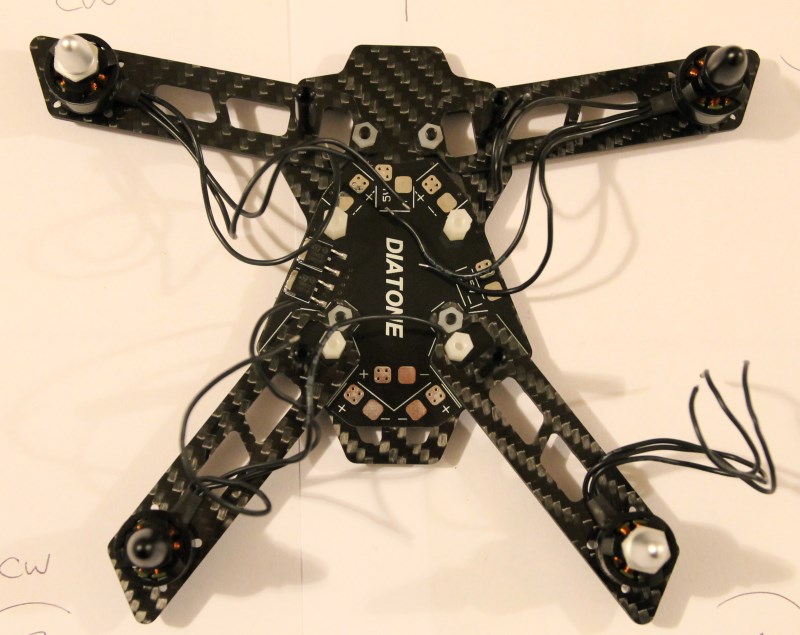
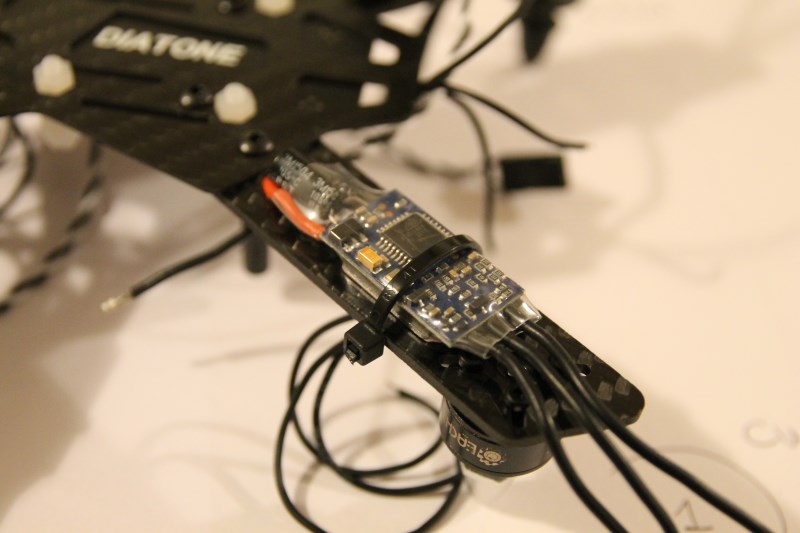
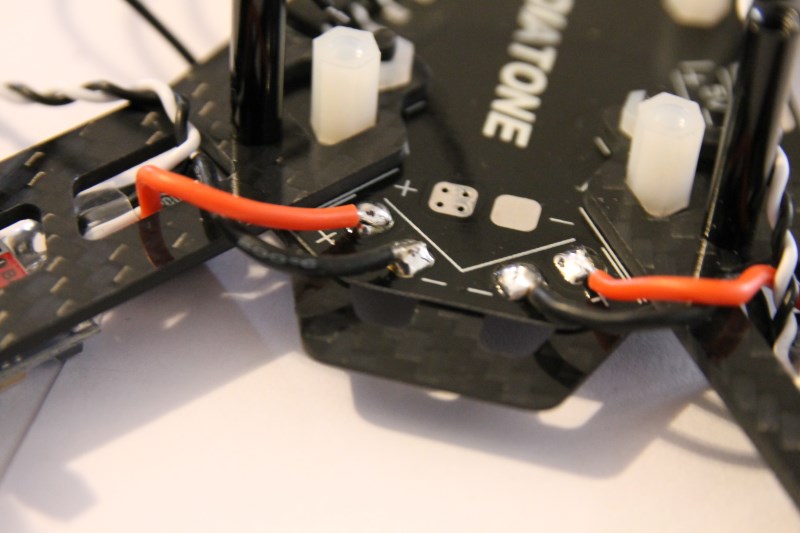
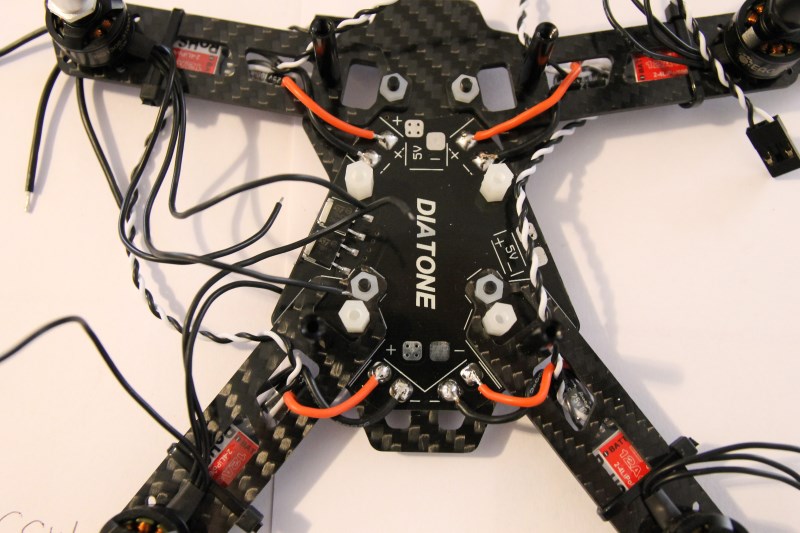
The ESCs have instead been fixed below the arms using plastic ties. The power wires (red = positive, black = negative) of each ESC have been soldered to the power distribution board:
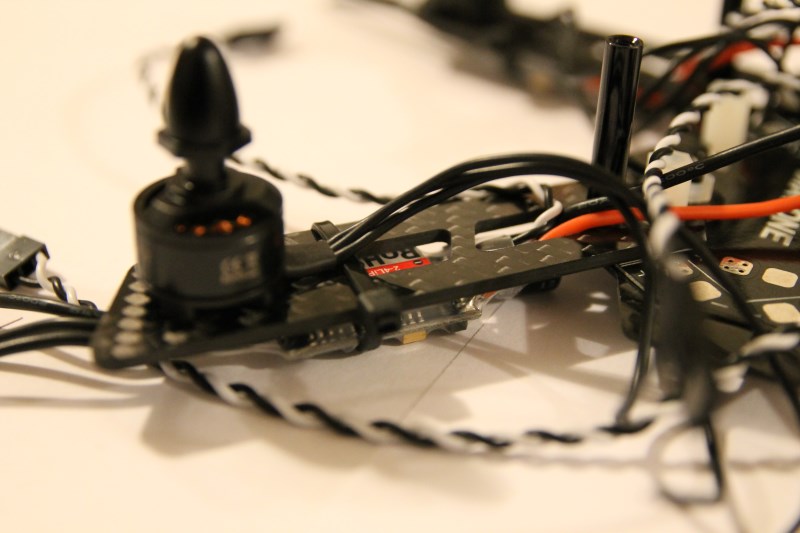
I then connected each motor to the corresponding ESC. The connection is “temporary” (I simply twisted the wires together), I’ll solder the wires only after having verified with the flight control board that the rotation direction is correct:
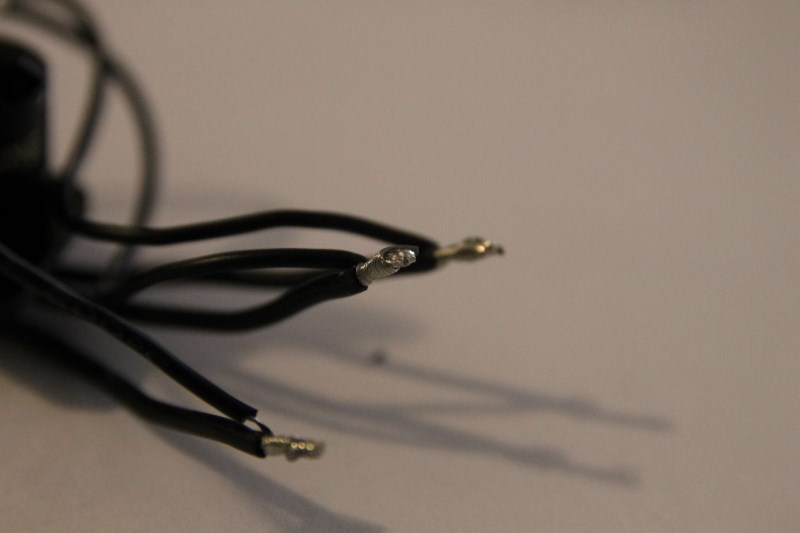
Finally, I soldered the battery connector and two wires to power the flight control board to the 5V output of the BEC circuit:


